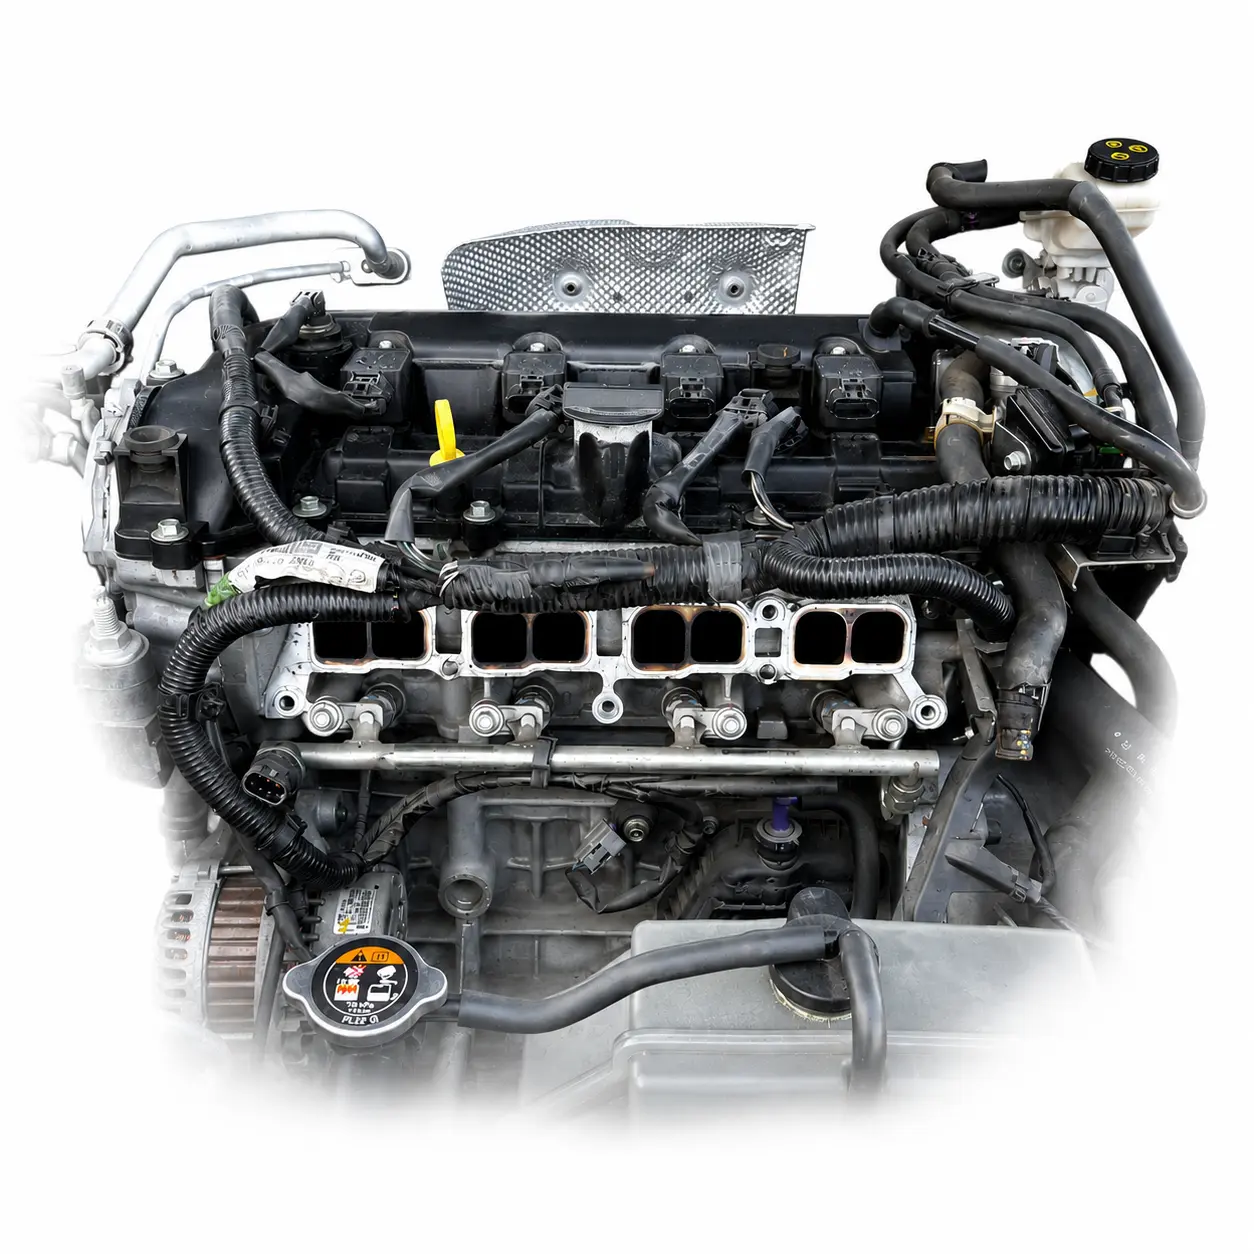
A photographed OEM+ reference build for a European 2016 Mazda3 2.0 Skyactiv-G, combining matched fuel delivery, cooling, airflow and a Justin Freeman calibration.
This guide documents a real 120 PS European Mazda3 that was developed around an OEM+ philosophy. The current setup uses full E85 rather than a flex-fuel strategy, with the calibration, injectors, low-pressure pump and control module treated as one package.
The owner's reported output is slightly above 200 whp. That result is specific to this vehicle, fuel, condition and calibration. It is not a guaranteed result for another Mazda3.
Vehicle
Mazda3 BM/BN
Model year
Late 2016 / 2017 specification
Engine
2.0 Skyactiv-G, 120 PS base
Fuel strategy
Fixed E85, not flex fuel
Calibration
Justin Freeman / MazdaEdit
Build direction
Street-friendly OEM+
02 / Exact reference package
Parts used for the 2016 2.0 Skyactiv-G build
These references describe this specific car. They are not an automatic fitment claim for every Skyactiv-G Mazda.
SystemReferencePurposeStatus
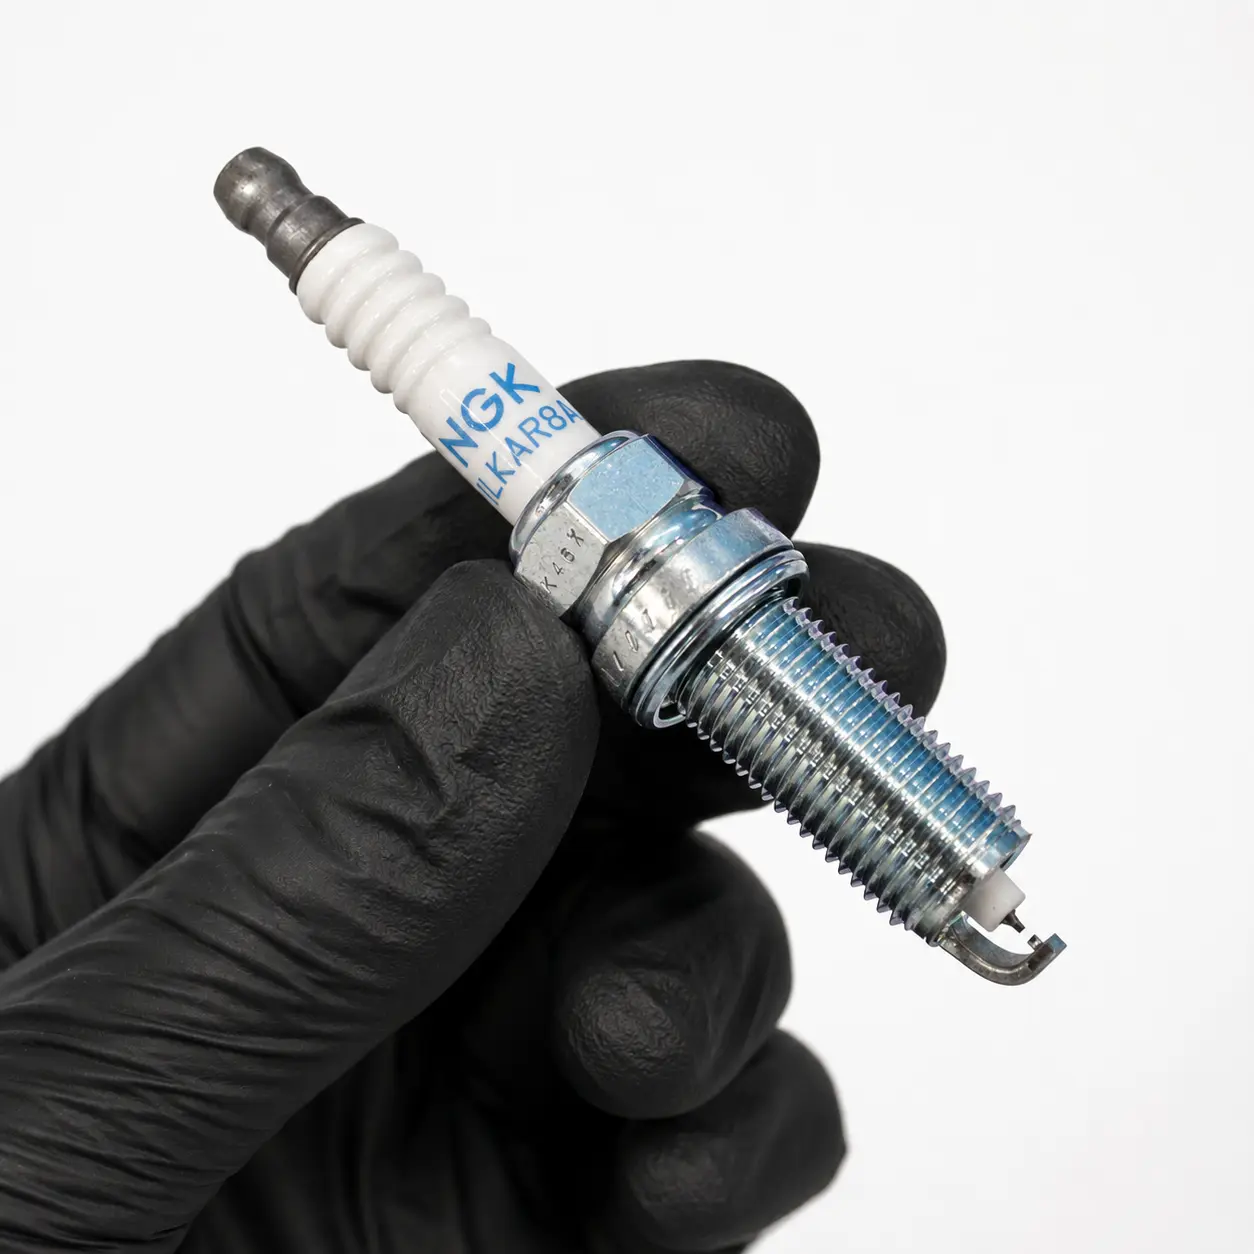
Spark plugsNGK DILKAR8A8 / 93026Colder iridium plug for the calibrated setupCore package · Fitted
Air filterK&N 33-2480Drop-in panel retained inside the original airboxSupporting · Fitted
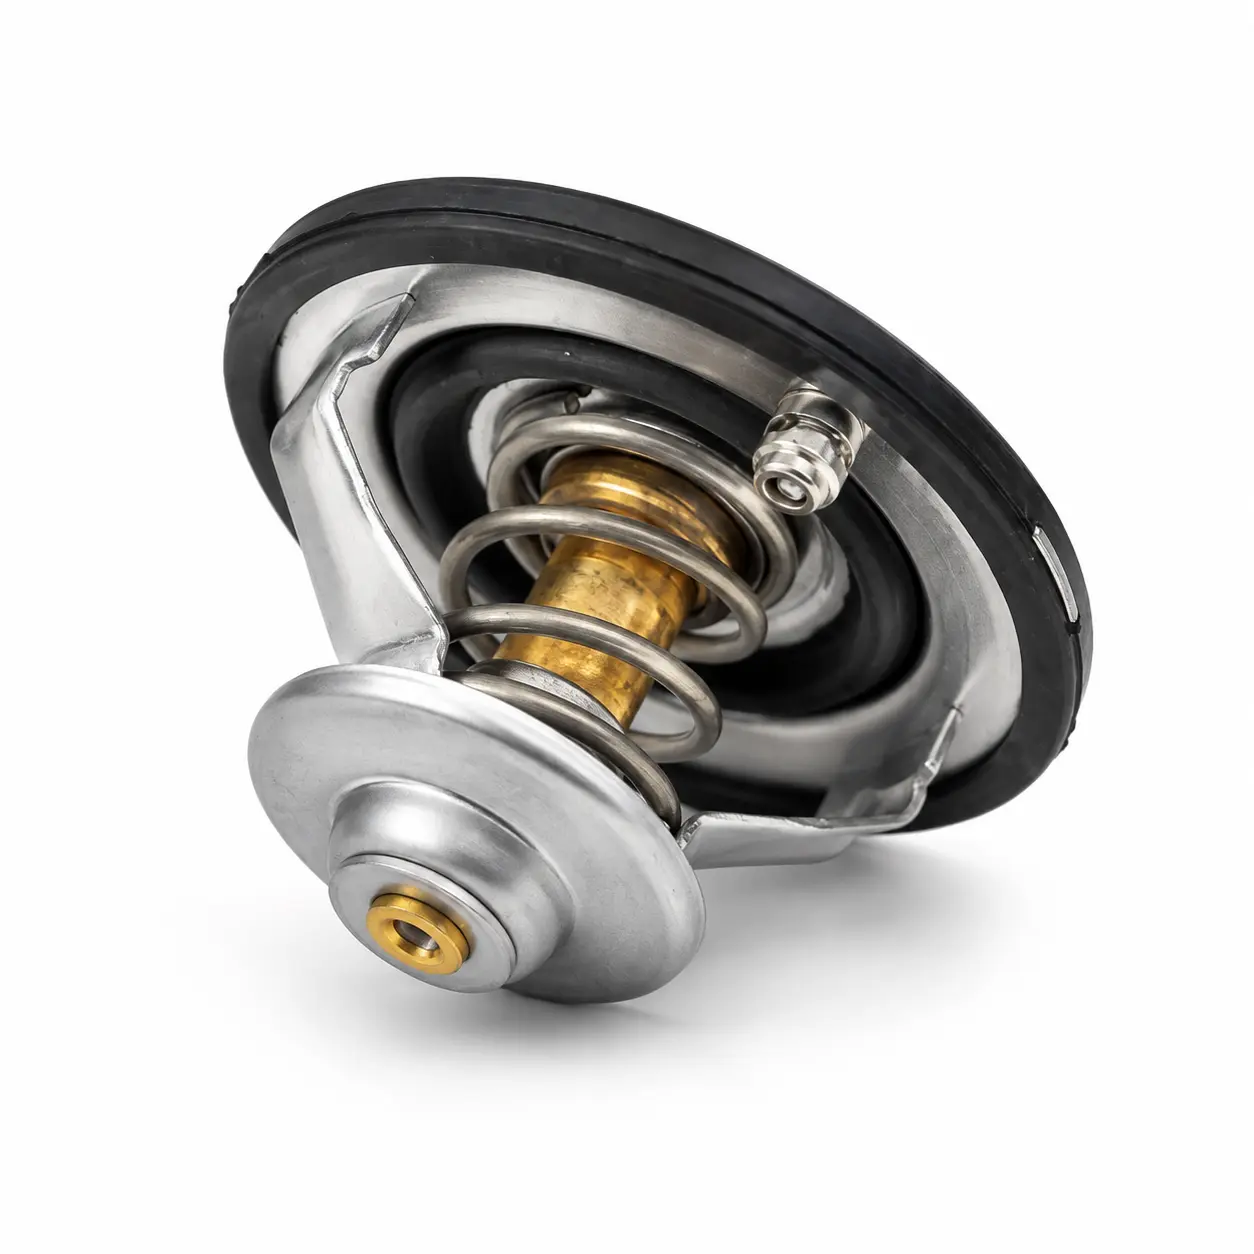
ThermostatPX8E-15-171Cooling-system reference recommended for this applicationSupporting · Justin recommended
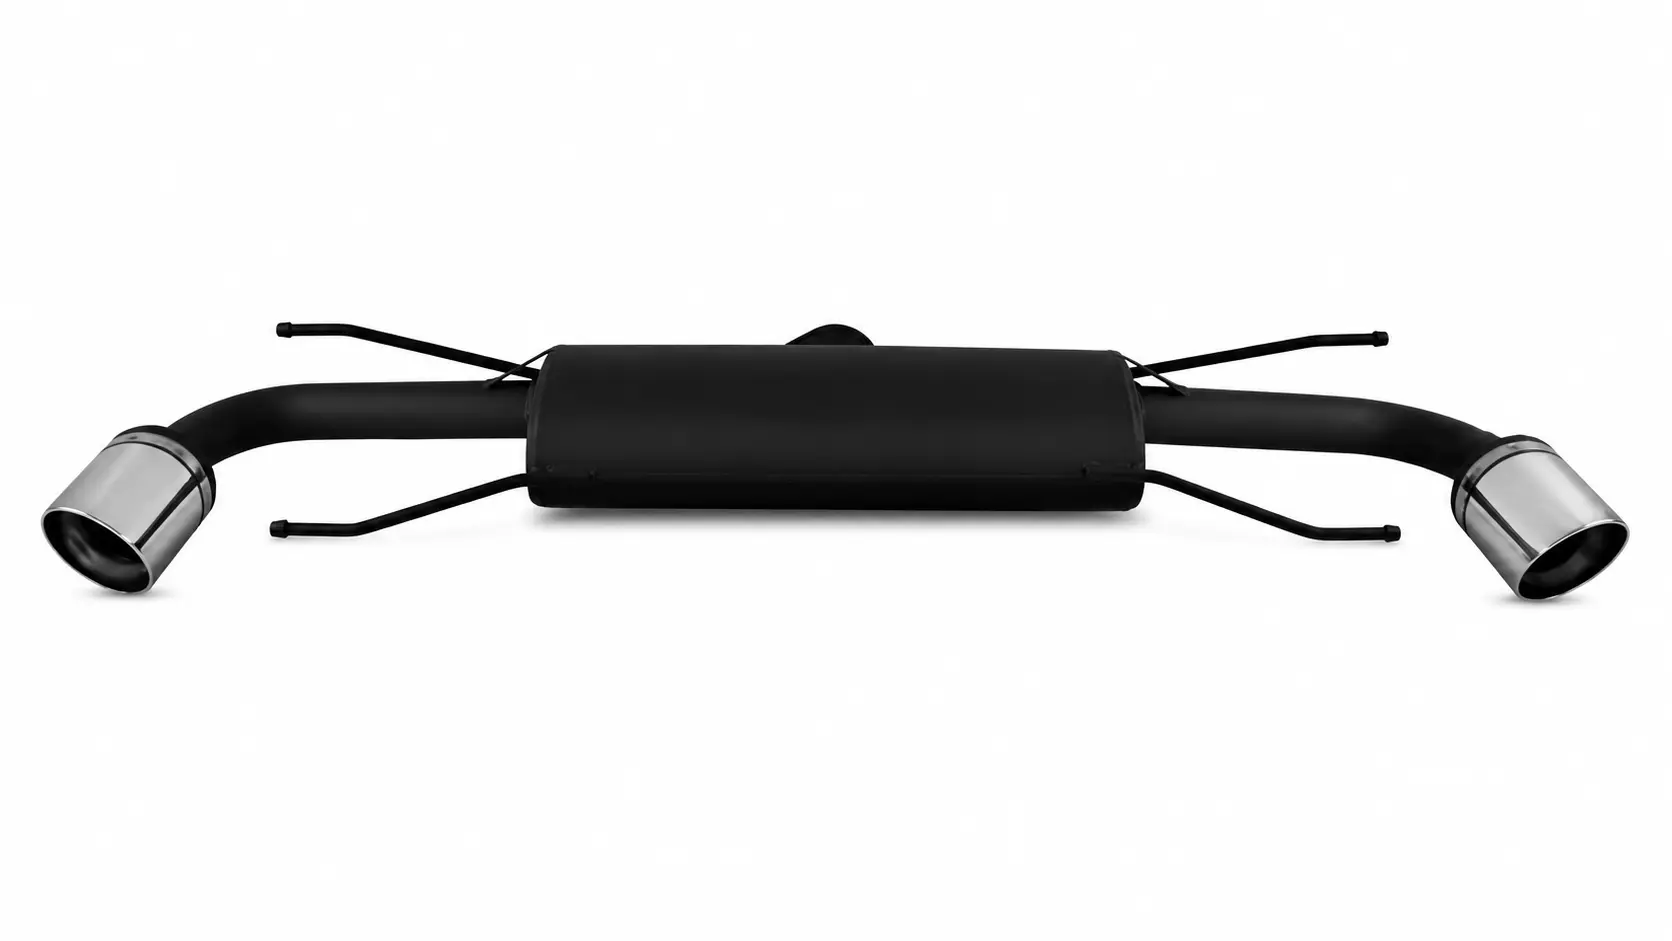
AxlebackUlter Sport 116-310/60Model-specific twin-outlet rear exhaust sectionOptional · Fitted
Mazda procedure cross-check
What the workshop information confirms
The points below were checked against Mazda owner information and Skyactiv-G workshop procedures. Exact sequences, sealant locations and tightening values must still be taken from the edition matched to the VIN.
01
Spark plugs
The 2016 owner information lists PE5S-18-110 or PE5R-18-110 as the standard Mazda plugs. DILKAR8A8 is specific to this tuned build. Work cold, keep debris out of the wells, tighten to 15 to 20 N·m and inspect the fine-wire gap without bending the electrodes.
02
Rocker-cover gasket
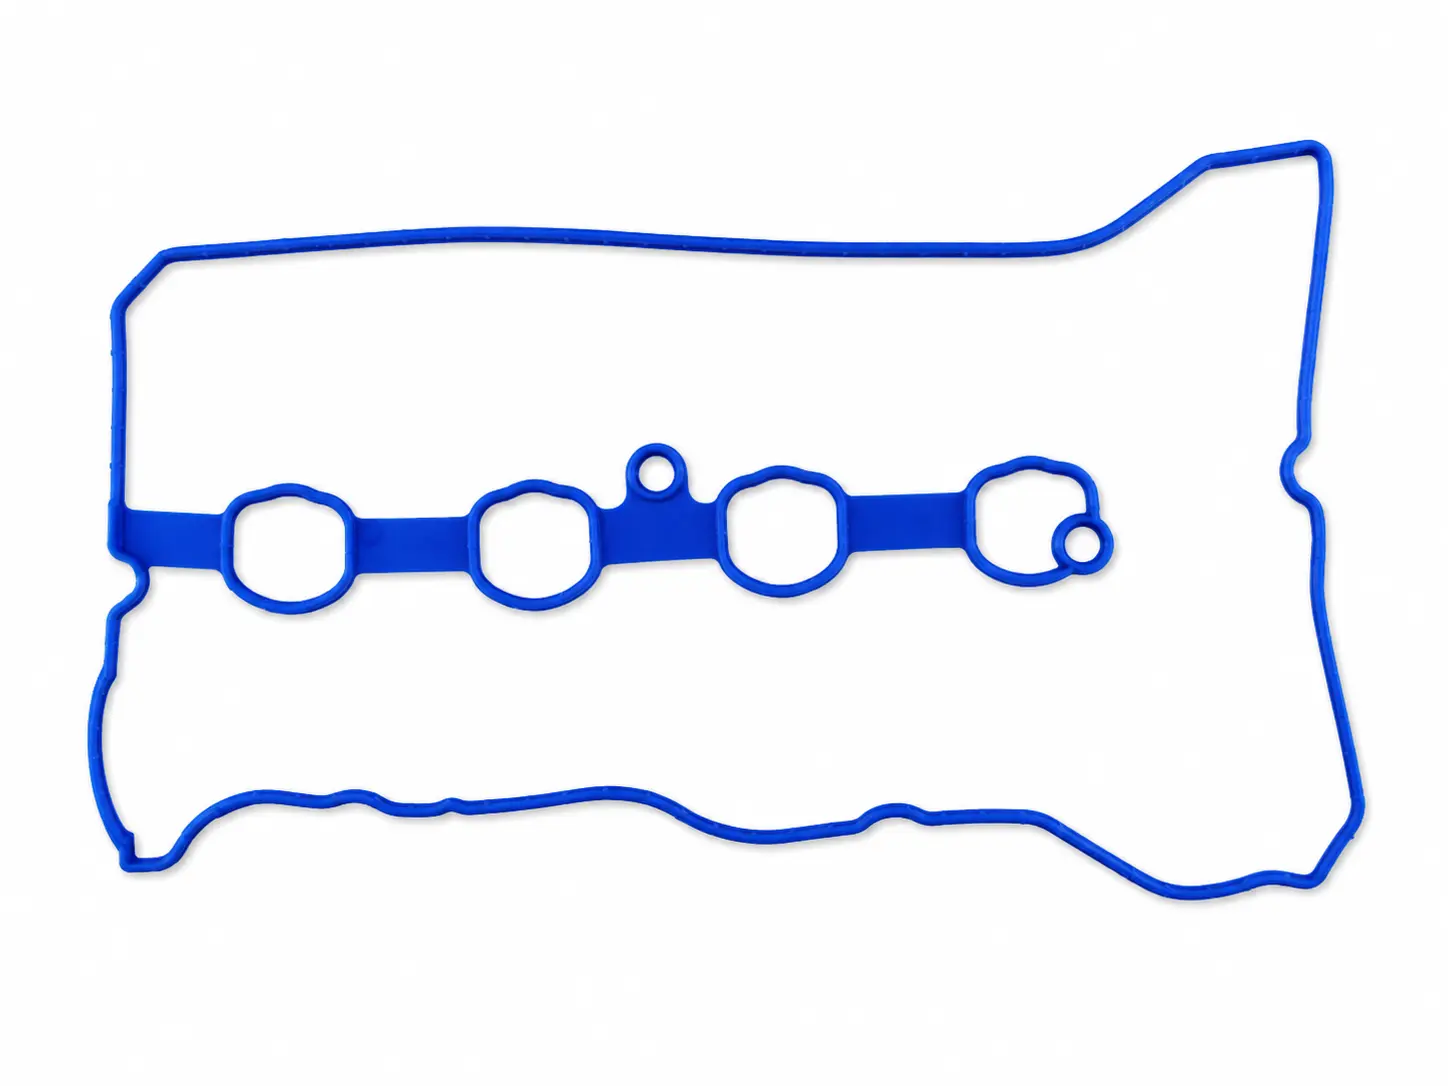
Fit a new gasket into the cover groove, remove oil, dirt and old sealant from the mating surfaces, and apply fresh sealant only at the locations shown by Mazda. Follow the VIN-specific bolt order and staged tightening procedure.
03
Fuel system
Complete the Mazda fuel-line safety procedure, disconnect the battery and keep all ignition sources away. Direct-injection seals and support rings are service items requiring the correct tools, followed by priming and a thorough leak inspection.
04
Thermostat and coolant
Open the system only when completely cold. Mazda specifies aligning the thermostat jiggle pin with the water-outlet notch and warns against applying oil to its rubber seal. Refill with compatible FL-22 coolant, bleed the system and inspect for leakage.
03 / Installation sequence
Install, verify, then calibrate.
The safest order keeps the car on its existing fuel until the complete hardware package has been checked and the matching calibration is ready.
01
Mechanical baseline
Start with a healthy engine
Scan for stored faults, check oil and coolant condition, inspect for fuel or intake leaks and confirm stable battery voltage. Clean the throttle body and MAF only with suitable products. Direct-injection intake-valve deposits should be assessed before raising load or engine speed.
Baseline inspection · Intake side access02
Ignition
Fit the DILKAR8A8 plugs
Work on a cold engine. Remove the coils and clean debris away from each plug well. Skyactiv-G 2.0 workshop data specifies 15 to 20 N·m for spark-plug installation. Inspect the fine-wire gap with a wire gauge and do not bend the electrodes to adjust it. DILKAR8A8 is a tuned-build choice rather than the standard Mazda plug, so confirm it with Justin. Refit the coils and connectors, then confirm a clean idle before moving to the fuel system.
NGK DILKAR8A8 / 93026 · Verify gap and tightening specification03
Preventive sealing
Renew the rocker-cover gasket if required
The blue part shown here is the reinforced Corteco 49138023 rocker-cover gasket, made from MVQ silicone rubber and cross-referenced to Mazda PE01-10-235. Replace it whenever the cover is removed, or if the gasket shows signs of oil leakage, hardening or damage. Clean the mating surfaces without scratching them, keep debris out of the engine and apply sealant only where the Mazda procedure specifies it. Use the bolt order, stages and tightening values from the workshop information matched to the VIN.
This gasket is preventive maintenance, not an E85 performance upgrade. Confirm fitment from the VIN before ordering.
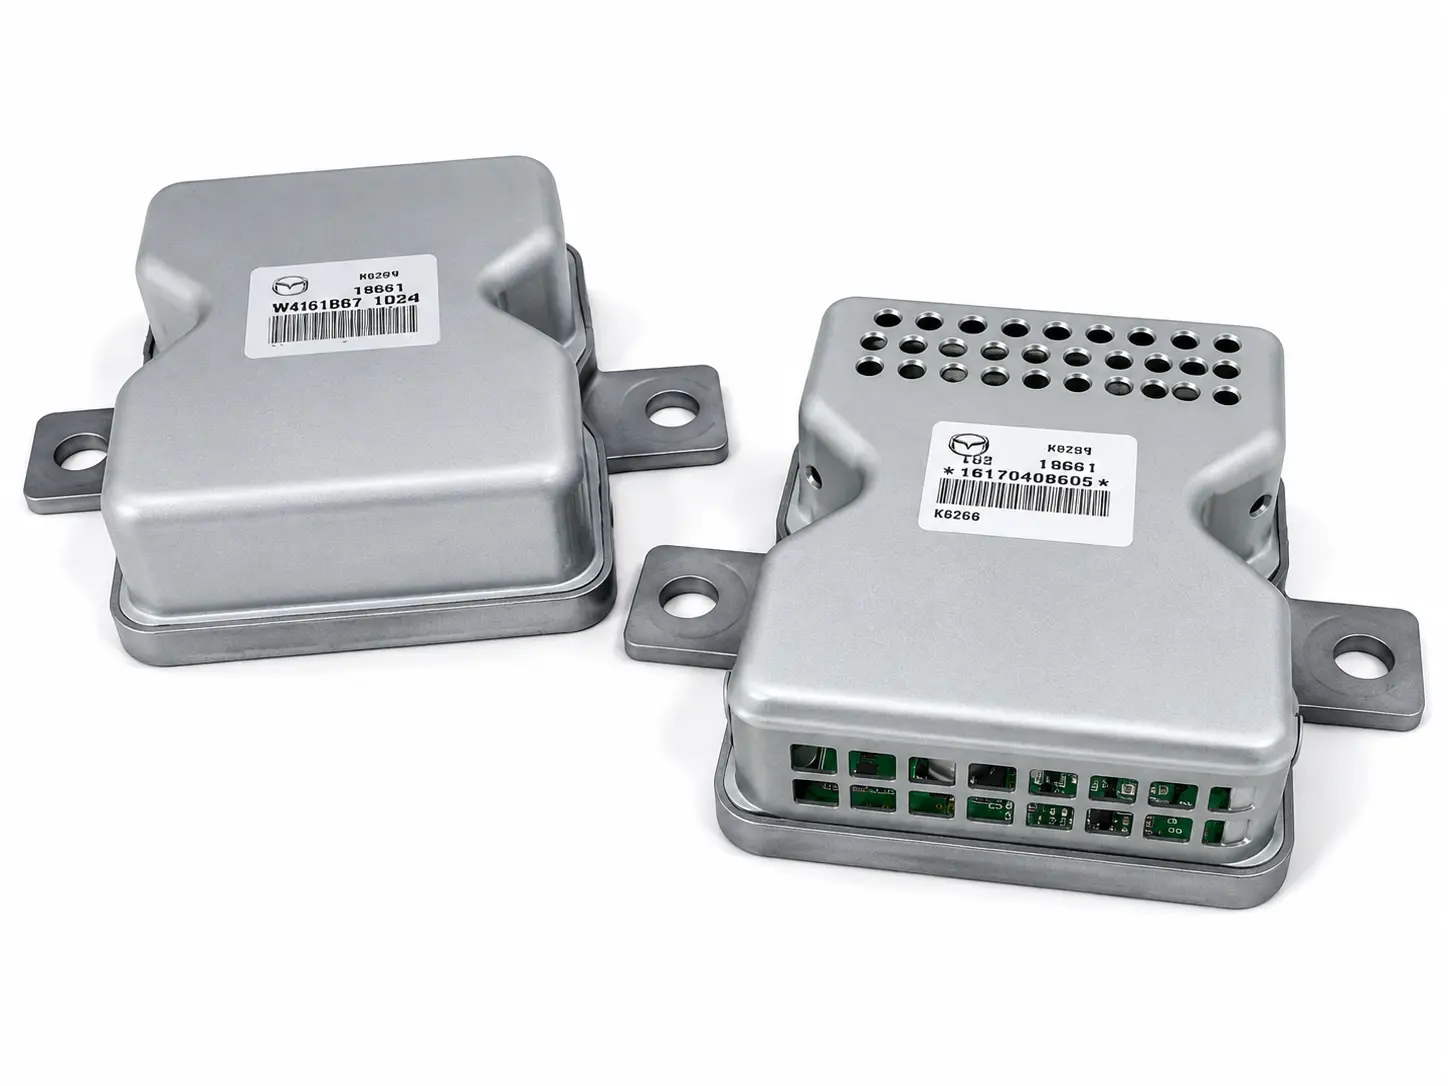
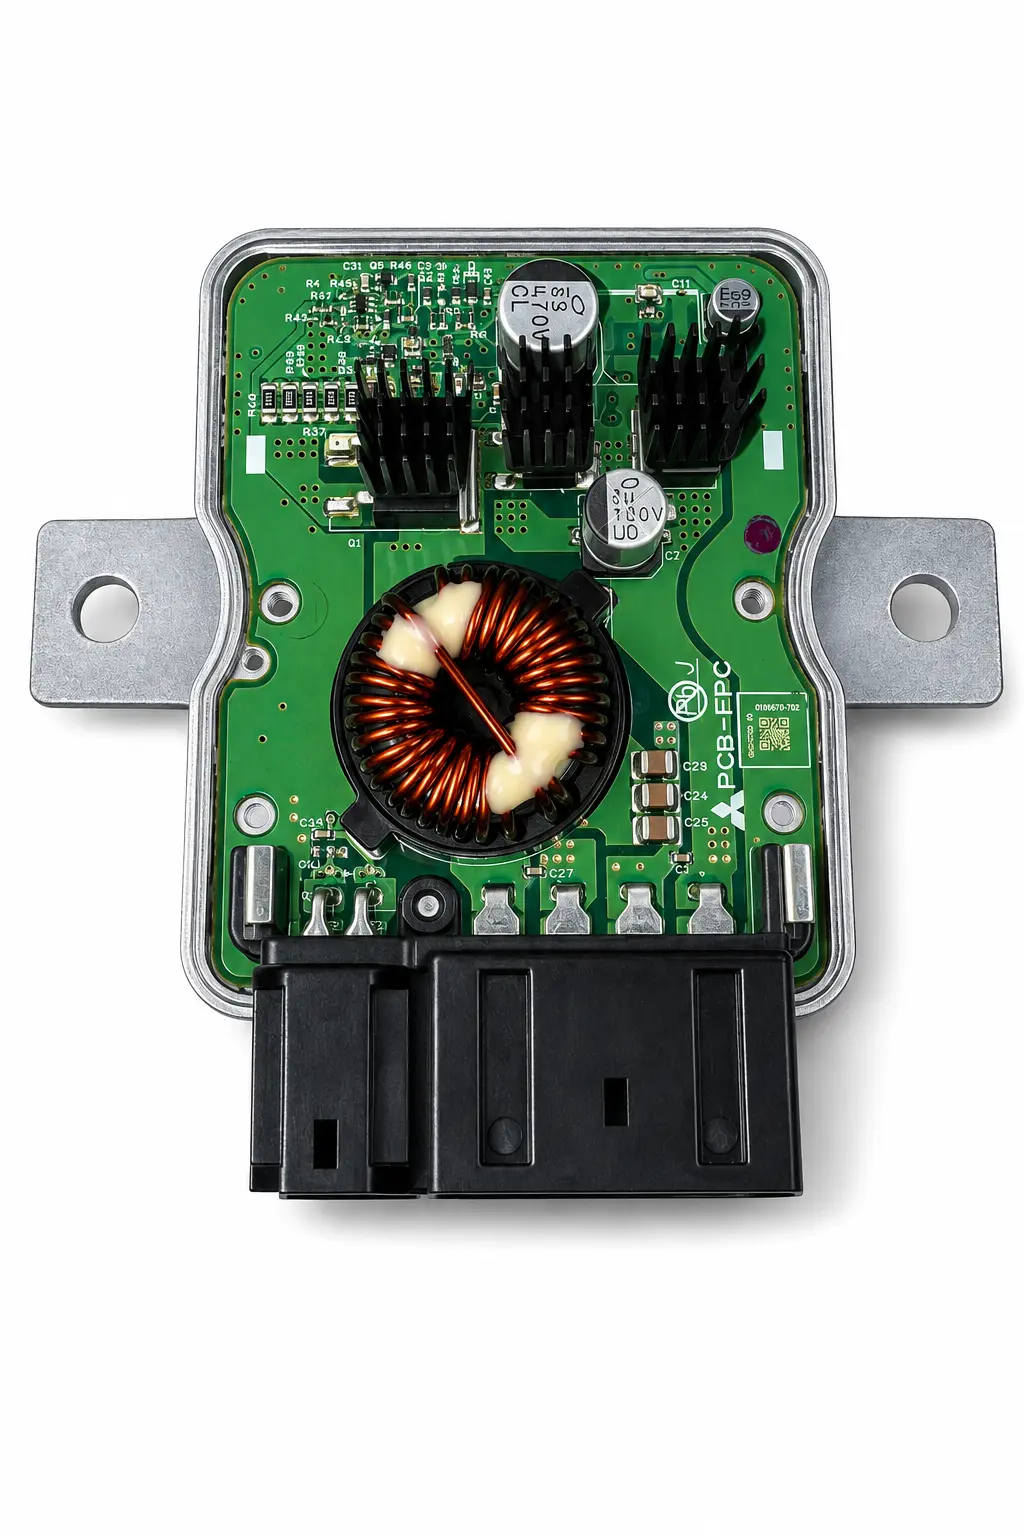
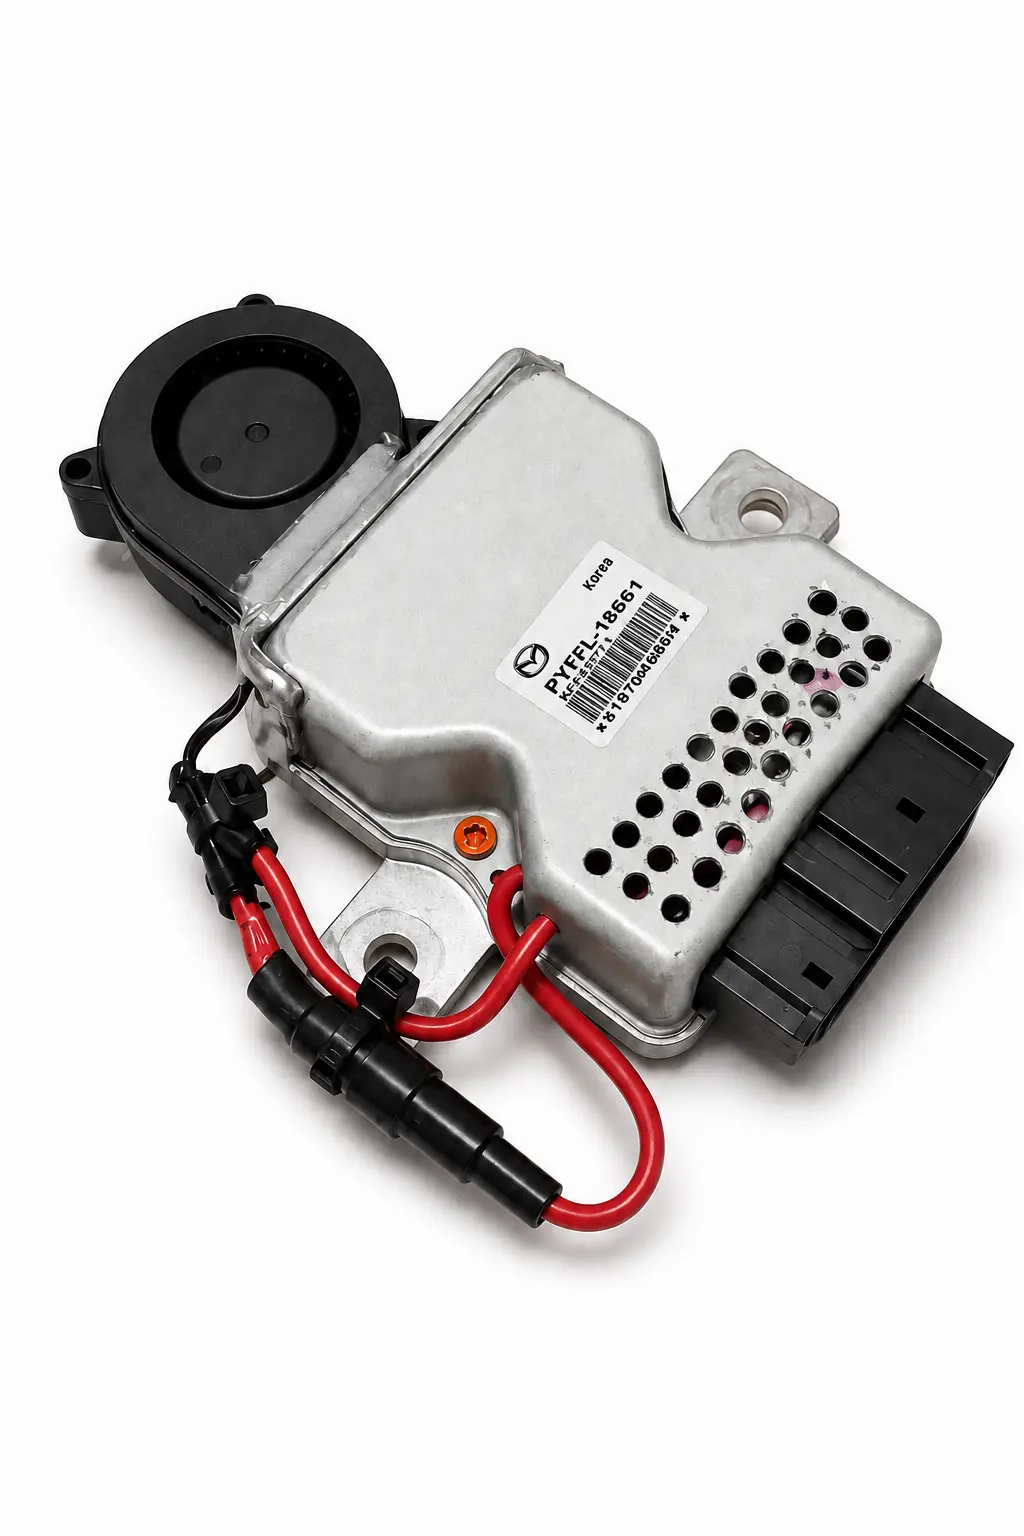
Disconnect the battery before accessing the fuel-pump controller. Compare connectors and mounting points, secure the module away from moisture and confirm that no terminal is loose or overheated. The photographed build also uses fused 12 V active cooling over the module's MOSFET area. That cooling is a custom addition and its wiring must be protected, insulated and strain-relieved.
OEM module comparisonPower electronics areaCustom fused active cooling
05
Low-pressure fuel supply
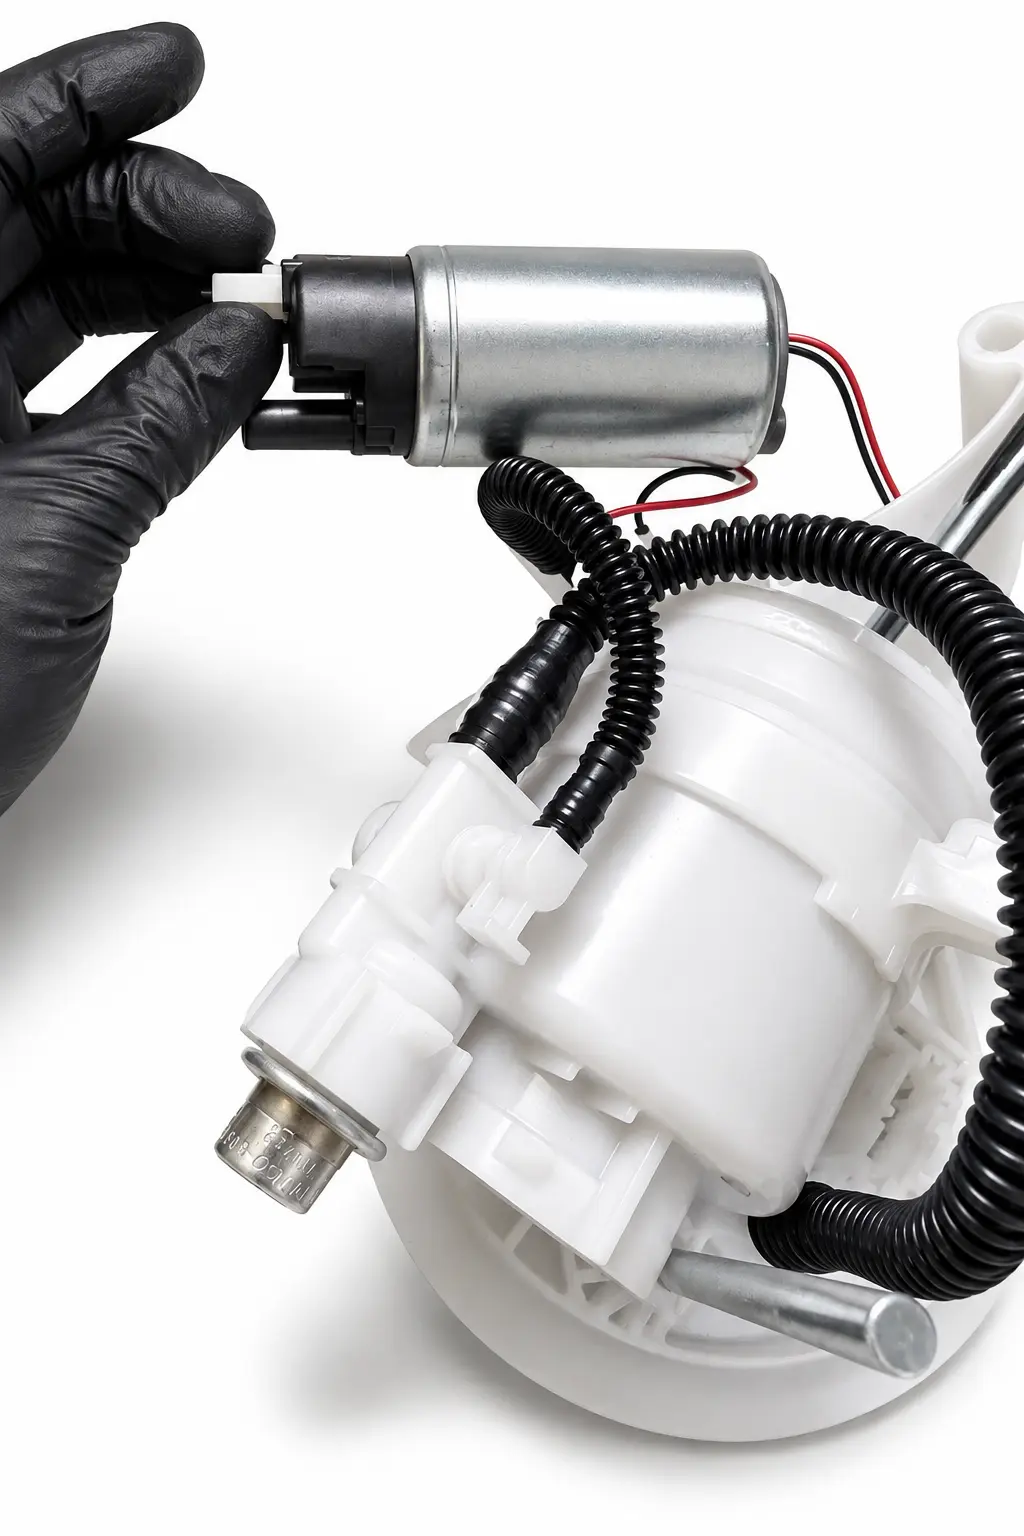
Replace the in-tank pump with PYFL-13350
Relieve fuel pressure using the Mazda workshop procedure, disconnect the battery and work with ventilation, no ignition sources and the fuel level kept low. Access the sender, clean the area before opening the tank, mark its orientation and replace the pump without damaging the level arm, strainer, wiring or seals. Use a new sealing ring where required, then prime the system and inspect carefully for leaks.
This build previously used a DW300C. It was removed after excessive current demand caused occasional voltage drops. Do not treat it as the recommended option for this reference package.
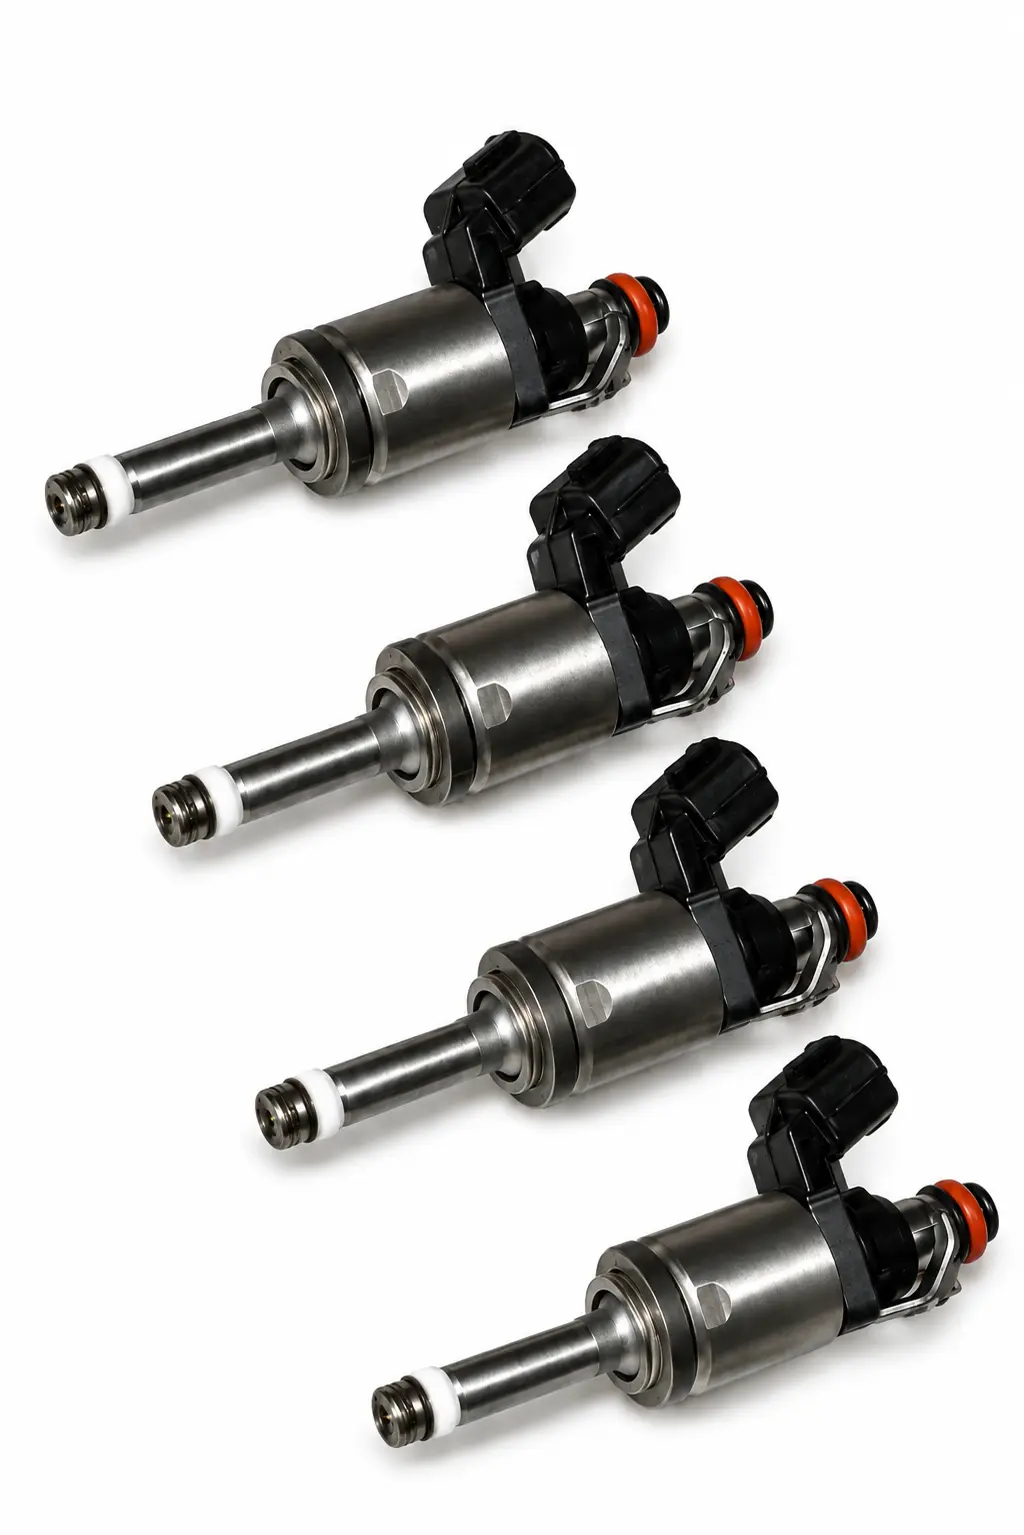
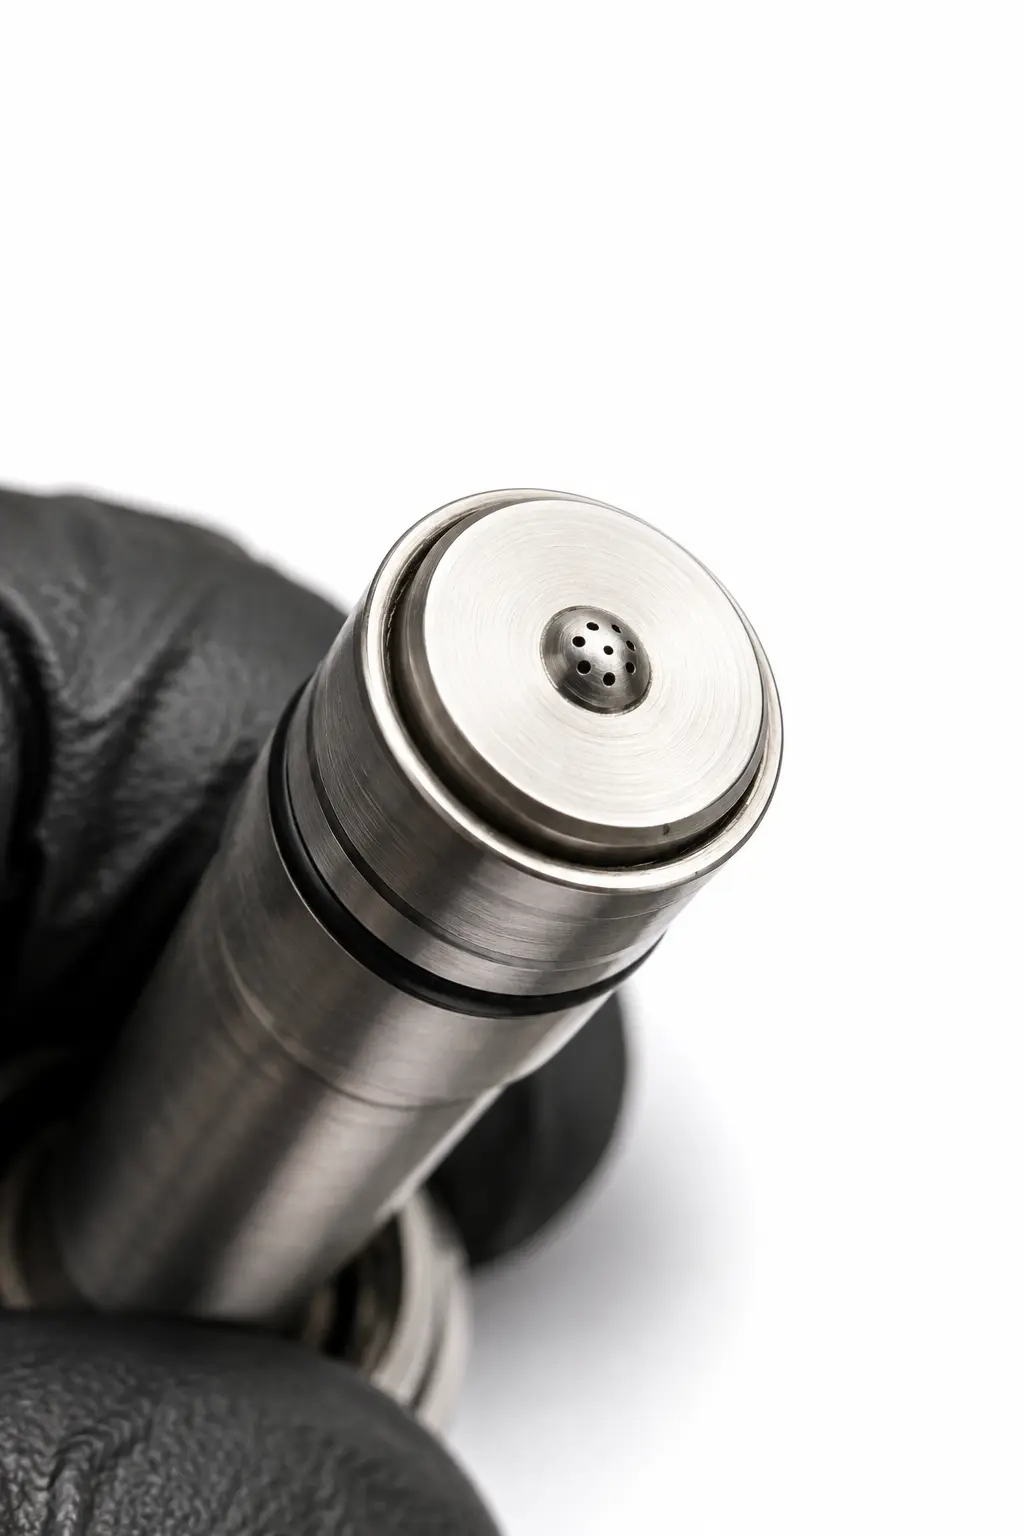
The Skyactiv-G direct-injection rail can retain dangerous pressure after shutdown. Follow Mazda's depressurization procedure and use a competent technician if you do not have the correct service information and tools. Remove the rail without levering on sealing surfaces, fit the correct new seals and support rings, lubricate only as specified, then check rail seating, connector engagement and fuel tightness before the first start.
Injector characterization and flow must be accounted for in the calibration. Do not drive on the original map after fitting these injectors.
Four PY01-13-250 injectorsProtect the injector tip and new seals
07
Airflow
Keep the original airbox and reduce heat soak
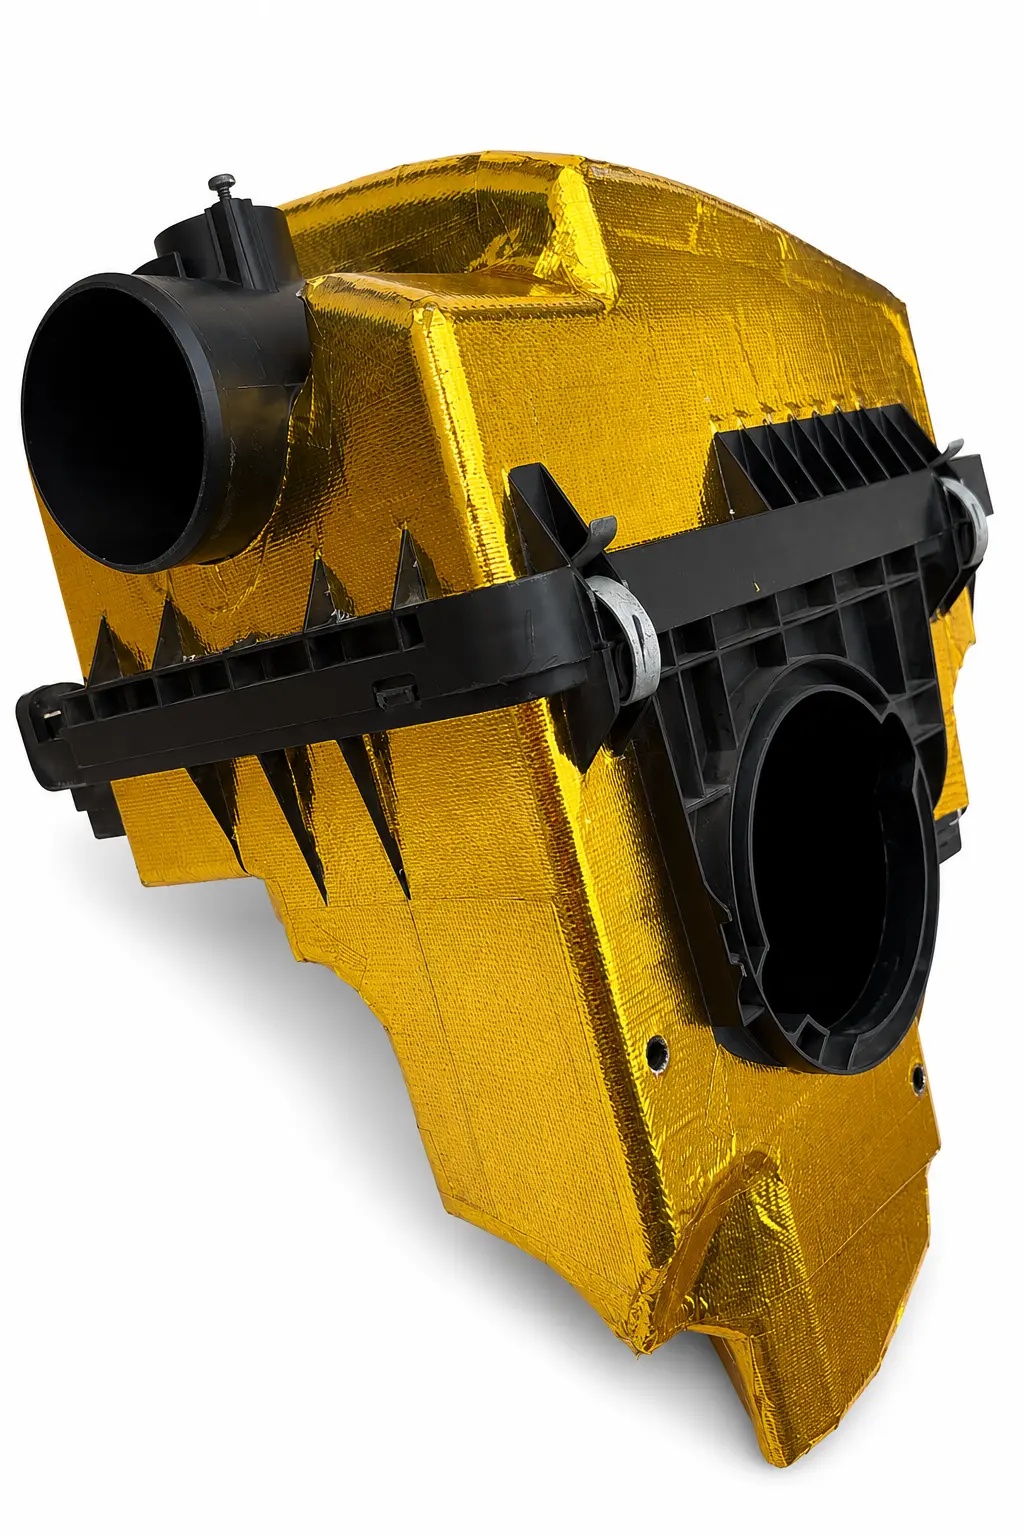
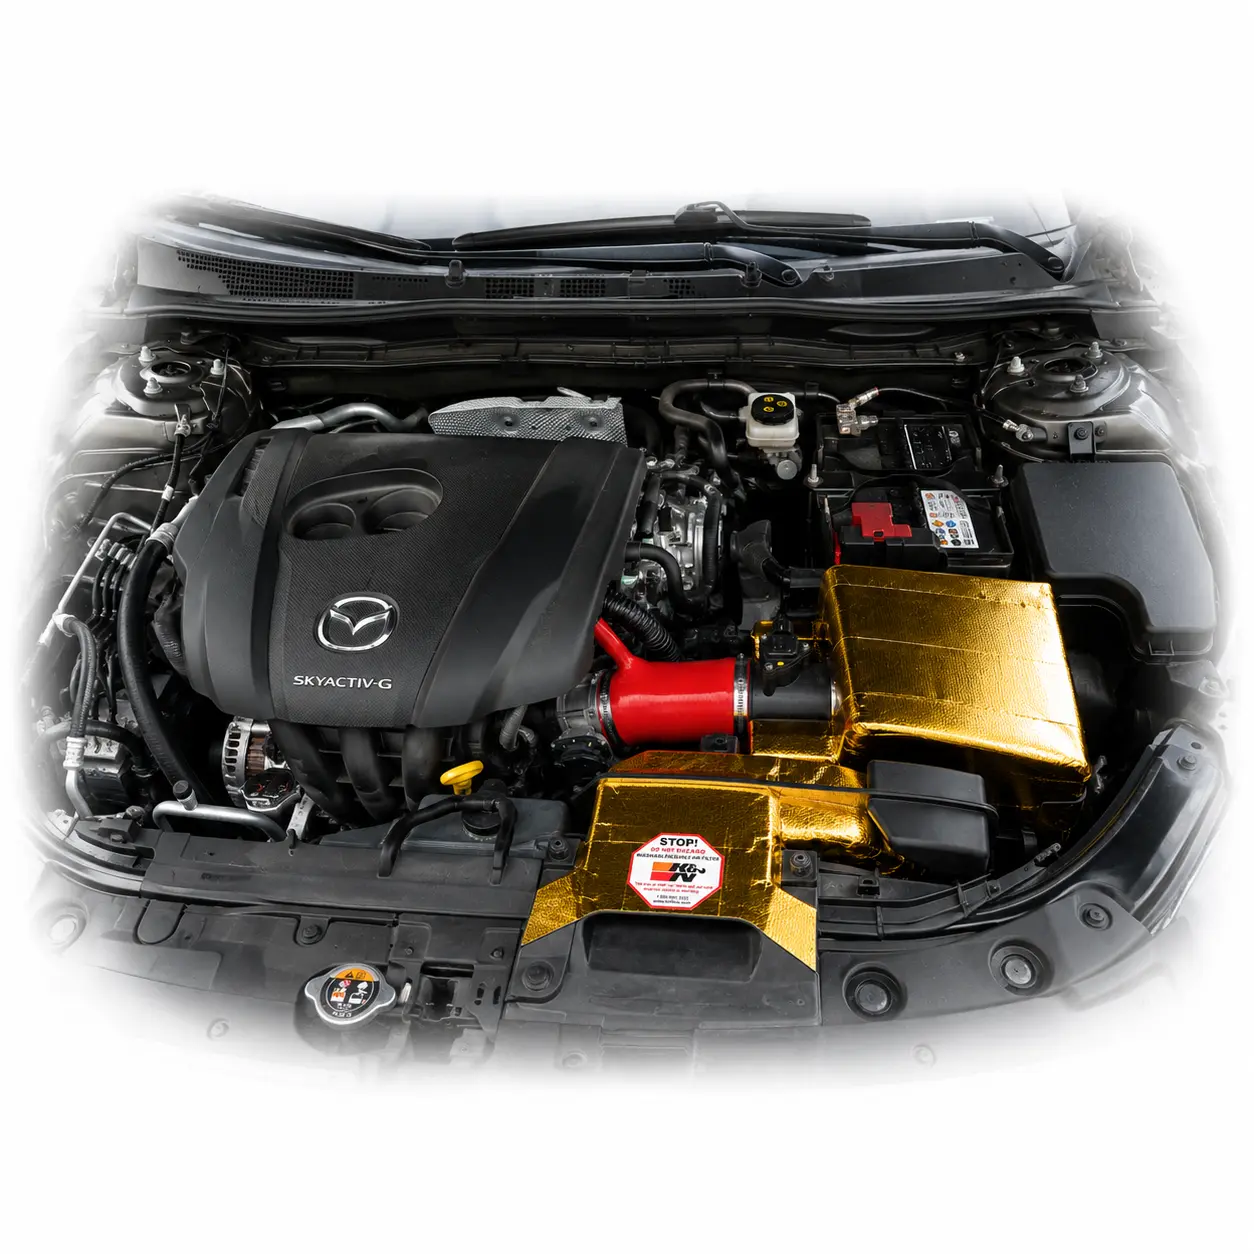
The reference setup retains the factory airbox with a K&N 33-2480 drop-in filter. The airbox and inlet path are thermally insulated, the corrugated section is replaced with a smooth reinforced hose and a frontal scoop feeds cooler outside air. Keep the MAF position and orientation unchanged, clamp every joint securely and prevent the scoop from directing standing water toward the filter.
Completed OEM airbox installationThermally insulated original airbox
08
Thermal control
Fit the PX8E-15-171 thermostat
Start with a fully cold engine, disconnect the negative battery cable, drain the coolant cleanly and confirm the thermostat housing matches the reference before disassembly. Align the thermostat jiggle pin with the water-outlet notch and do not apply oil to the rubber seal. Tighten the housing to the VIN-matched Mazda specification, refill with compatible FL-22 coolant and bleed the system completely. Verify stable temperature, cabin heat and leak-free operation during the first heat cycles.
PX8E-15-171 · Confirm housing and seal before fitting09
Rear exhaust
Install the Ulter Sport 116-310/60 axleback
Raise and support the vehicle correctly, let the exhaust cool and apply penetrant to the original fasteners. Support the rear silencer before undoing the flange or clamp and removing the rubber hangers. Transfer or renew the hangers and gasket as required, fit the Ulter section loosely, centre both outlets in the bumper and only then tighten the joints evenly. Check body, heat-shield and suspension clearance, then test for leaks and contact noises.
An axleback mainly changes sound and appearance. Do not publish or promise a power gain without controlled before-and-after testing.
Ulter Sport 116-310/60 · Align before final tightening10
Calibration and logs
Flash only the map matched to the completed car
Send Justin the original ROM, ECU identification, exact fuel, full hardware list and confirmation that the system is leak-free. Flash the supplied calibration with stable battery support, then collect the requested MazdaEdit logs. Review fuel trims, commanded and measured mixture, low- and high-pressure fuel delivery, ignition correction, intake temperature, coolant temperature and injector operation before increasing load.
No. Complete the verified hardware installation, keep the fuel compatible with the current map and move to E85 only as instructed for the supplied calibration.
02Is the resulting calibration flex fuel?+
No. This reference build is calibrated for full E85. Do not switch freely between pump petrol and E85 unless Justin has provided a strategy designed for changing ethanol content.
03Can I substitute another pump or injector?+
Only after confirmation. Electrical demand, flow, pressure control and injector characterization affect the calibration. A physically fitting component is not automatically an equivalent component.
04Should I copy the raised engine-speed limit?+
No. The reference car uses a calibrated limit in the 7,500 to 7,700 rpm range, but that is not a universal recommendation. Oil condition, valvetrain control, temperatures, engine condition and the complete calibration determine the acceptable limit.
Installation responsibility
This page documents one modified vehicle and is not a Mazda workshop manual. Fuel, direct-injection, electrical and cooling work can cause fire, injury or engine damage when performed incorrectly. Use the official service procedure, new specified seals and a qualified technician whenever the required method or torque is uncertain.
Build source
Reference vehicle, photographs and practical installation feedback supplied by KTMZ3. Calibration direction and final compatibility must be confirmed by Justin Freeman. The original French build history is available on the Mazda French Club forum.